

A.W.T. Pro Angle 2 Scoop Coater
The AWT Pro Angle 2 Dual Sided Scoop Coater – the ultimate tool for screen printing enthusiasts and professionals seeking precise emulsion application. With a dull edge and sharp edge option, this coater allows you to effortlessly build thicker stencils for more versatile printing possibilities.
Crafted from high-quality, all-aluminum material, the Pro Angle 2 boasts durability and reliability. Its lightweight design ensures easy and comfortable handling, minimizing strain during extended coating sessions.
The controllable coating deposit feature sets this coater apart. With adjustable settings, you can easily regulate the amount of emulsion applied, providing consistent and accurate coating thickness. Whether you’re aiming for a thin or thick emulsion layer, achieve your desired outcome effortlessly.
Achieve unparalleled uniformity in emulsion and blockout coating with the Pro Angle 2. Its dual-sided design enables simultaneous application on both sides of the screen, ensuring consistent coverage and saving valuable time.
Designed with a hard-anodized gold aluminum trough, this coater guarantees even distribution of emulsion, preventing excess buildup and ensuring superior print quality.
Cleaning up after each use becomes hassle-free, thanks to the Pro Angle 2’s permanent aluminum ends. Say goodbye to leaks and difficult maintenance – the coater’s design ensures easy cleaning and reusability.
As an added bonus, the AWT Pro Angle 2 Scoop Coater includes a special rubber edge protector. This accessory enhances safety during the coating process by safeguarding the edges of your screens from accidental scratches.
Elevate your screen printing game and experience effortless stencil building with the AWT Pro Angle 2 Dual Sided Scoop Coater. With an all-aluminum construction, controllable coating deposit, and uniform emulsion and blockout coating, this coater is the ultimate tool for achieving precise and consistent results. Take your creativity to new heights and unlock endless possibilities with the AWT Pro Angle 2.
$39.99 – $41.99
Description
A.W.T Pro Angle Scoop Coater Features:
- All aluminum coater
- Easy & comfortable handling
- Controllable coating deposit
- Uniform coating of emulsions and blockout
- Designed with hard anodized gold aluminum trough
- Aluminum ends are permanent for easy cleaning and no leaking
- Special rubber edge protector included with Pro-Angle 2
Deeper Trough – more, requires less refilling, needs fewer passes
Dual Edge – thick and thin coating sides give greater application options
Light/Dust Cover – protects edge from nicks, keeps light and debris out
Technical Specifications
Coating a screen with emulsion using the AWT Pro Angle 2 Dual Sided Scoop Coater is a straightforward process. Please follow these step-by-step instructions to achieve optimal results:
1. Prepare your screen: Make sure your screen is clean and dry. Remove any debris or dust particles that could affect the quality of your coating.
2. Mix the emulsion: Prepare your emulsion according to the manufacturer’s instructions. Ensure that it is well-mixed and free from any clumps or lumps.
3. Select the desired edge: The Pro Angle 2 Scoop Coater features both a dull edge and a sharp edge. The dull edge puts down more emulsion, creating a thicker stencil. The sharp edge puts down less emulsion, resulting in a thinner stencil. Choose the edge that aligns with your desired stencil thickness.
4. Position the coater: Hold the Pro Angle 2 coater at an angle of 45 degrees with one end of the trough resting against the screen.
5. Pour the emulsion: Pour a sufficient amount of emulsion onto the edge of the coater, accommodating the size of your screen.
6. Start coating: With a steady and consistent motion, pull the coater across the screen while maintaining the 45-degree angle. Apply gentle pressure to evenly distribute the emulsion.
7. Coat in one direction: For the best results, consistently coat in one direction only. Avoid going back and forth, as this can result in uneven coating and potential streaks.
8. Achieve even coverage: To ensure uniform coating, pass the coater over the screen multiple times if necessary. If using the dull edge, additional passes may be needed to build a thicker stencil.
9. Optional flood coating: Once you have completed the coating process, you can perform a flood coating, which involves pouring a small amount of emulsion across the coated screen. Use a squeegee or coating trough to spread the emulsion evenly, removing any excess.
10. Allow to dry: After coating, place the screen in a clean and dust-free area to dry. Follow the manufacturer’s instructions for the recommended drying time.
Note: Always refer to the manufacturer’s guidelines for specific emulsion mixing ratios, exposure times, and any other factors that may impact the stencil development process. Additionally, be aware that the choice of using the dull or sharp edge of the coater will affect the stencil thickness, allowing for more versatility in your screen printing applications.
Technical Sheets / Safety Data Sheets / Documents
Video
Reviews
Only logged in customers who have purchased this product may leave a review.
You May Also Like
Related products
-

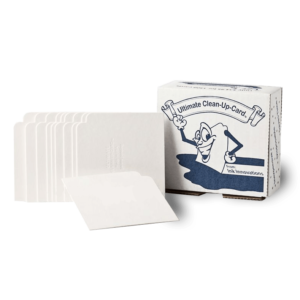
The Ultimate Clean Up Cards: Efficient Screen Printing Cleanup Solution
$19.99 – $119.99 -
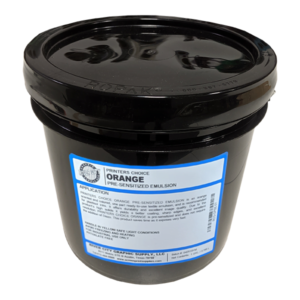
Printers Choice Orange Pre-Sensitized Photopolymer Emulsion – Works With Plastisol Inks
$29.99 – $69.99 -
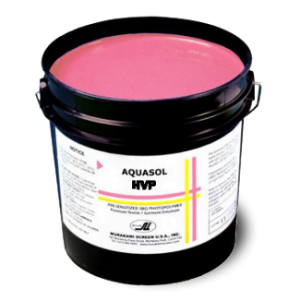
Murakami Aquasol HVP Emulsion – Works With Waterbased, Discharge, Plastisol Inks
$29.99 – $2,850.00 -
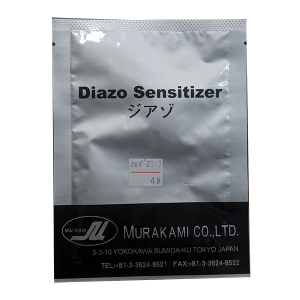
Murakami Diazo 4 Gram
$5.75
Reviews