
Sawgrass Virtuoso SG400 & SG500 Option Tray
Introducing the Sawgrass Option Tray: Expand Your Printing Capabilities with Ease
Unlock new possibilities in your printing workflow with the Sawgrass Option Tray. Designed to seamlessly integrate with your Sawgrass printer, this versatile accessory allows you to expand your capabilities and take on a variety of projects with ease.
With the Sawgrass Option Tray, you can effortlessly print on a wide range of specialty media, including oversized and unconventional substrates. Whether you’re creating personalized gifts, promotional items, or unique décor pieces, this tray provides the flexibility you need to bring your ideas to life.
Easy to install and simple to use, the Sawgrass Option Tray is a must-have addition to any printing setup. Expand your creative horizons and elevate your projects with the convenience and versatility of the Sawgrass Option Tray.
$208.00
Description
The Sawgrass Virtuoso option tray holds up to 250 additional sheets of media, increasing your capacity from 250 sheets to 500 sheets.
Specifications:
- Compatible with the Sawgrass Virtuoso SG400
- Capacity: 250 sheets
- Dimensions: 15.7”W x 14.2”D x 4.25”H
- Weight: 9 lbs
Technical Specifications
To use the Sawgrass Option Tray with your Sawgrass printer, follow these simple directions:
- Prepare Your Printer: Ensure that your Sawgrass printer is powered on and ready for use. Make sure it is properly connected to your computer or printing device.
- Install the Option Tray: Carefully attach the Sawgrass Option Tray to your printer according to the manufacturer’s instructions. This typically involves securely placing the tray in the designated slot or attachment point on the printer.
- Load Specialty Media: Place the specialty media that you wish to print on into the Sawgrass Option Tray. Ensure that the media is positioned correctly and securely within the tray to prevent any misfeeds or printing errors.
- Adjust Printer Settings: Adjust the printer settings on your computer or printing device to accommodate the specific media type and size that you are using. Refer to the printer’s user manual or software interface for guidance on selecting the appropriate settings.
- Print Your Design: Use your preferred design software to create or select the design that you want to print. Send the print job to your Sawgrass printer as you normally would, making sure to select the Option Tray as the designated media source.
- Monitor the Printing Process: Keep an eye on the printing process to ensure that the media feeds smoothly through the printer and that the design is printing correctly onto the surface. Make any necessary adjustments to the printer settings or media alignment as needed.
- Remove Printed Media: Once the printing is complete, carefully remove the printed media from the Sawgrass Option Tray. Handle the printed materials with care to avoid smudging or damage to the design.
- Unload the Option Tray (If Necessary): If you plan to continue printing with different media or if you have finished your printing tasks, remove the Sawgrass Option Tray from the printer and store it in a safe location until it is needed again.
By following these directions, you can effectively use the Sawgrass Option Tray to print on specialty media with your Sawgrass printer, expanding your printing capabilities and achieving high-quality results.
Technical Sheets / Safety Data Sheets / Documents
Video
Reviews
Only logged in customers who have purchased this product may leave a review.
You May Also Like
Related products
-

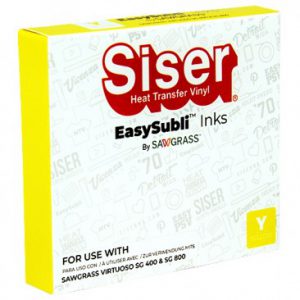
Siser EasySubli Sublimation Inks for the Sawgrass SG400 AND SG800 Printers – Yellow
$82.00 -
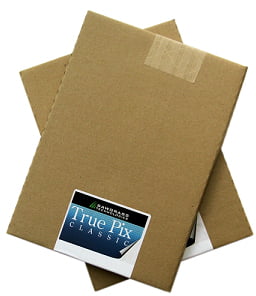
Sawgrass TruePix Classic Sublimation Transfer Paper – 11″x17”
$39.99 -
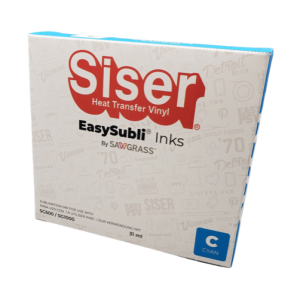
Sawgrass Siser EasySubli Sublimation Ink SG500 & SG1000- Cyan – Stunning Sublimation Results!
$82.00 -
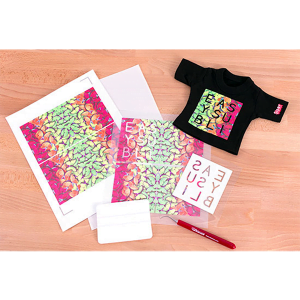
Siser EasySubli 8.4” x 11” sheets – Versatile Sublimation Solution
$28.99 – $430.00
Reviews