


A.W.T. Pro Angle 1 Scoop Coater
Introducing the AWT Pro Angle 1 Scoop Coated, the must-have tool for achieving flawless emulsion coatings in your screen printing process. This scoop coater is specifically designed to provide precise and consistent coatings, ensuring exceptional print results every time.
One of the standout features of the AWT Pro Angle 1 Scoop Coated is its all-aluminum construction. The hard anodized gold aluminum trough is not only visually appealing but also highly durable. This top-quality material ensures the scoop coater withstands the rigors of frequent use and maintains its superior performance over time.
Designed with convenience in mind, this scoop coater boasts an ergonomic handle that guarantees easy and comfortable handling. The well-thought-out design allows for a firm grip, minimizing strain and fatigue during the coating process. Whether you are coating small or large screens, the handle ensures optimal control over the pressure applied, resulting in consistent and even coatings.
With the AWT Pro Angle 1 Scoop Coated, achieving the ideal coating deposit becomes a reality. The precision of the coater’s angle and size enables you to achieve optimal contact with the screen mesh. This controlled coating deposit ensures an even distribution of emulsion or blockout, eliminating worries about uneven or blotchy prints. Say goodbye to time-consuming touch-ups and hello to efficient and professional coating results.
Uniform coating of emulsions and blockout is guaranteed with the AWT Pro Angle 1 Scoop Coated. Thanks to its specially designed aluminum ends, you can achieve a consistent and reliable coat every time you use it. The permanent aluminum ends contribute to easy cleaning, allowing for hassle-free maintenance and preventing any potential leaking issues.
Investing in the AWT Pro Angle 1 Scoop Coated means bringing excellence to your screen printing setup. With its durable all-aluminum construction, comfortable handling, controllable coating deposit, and uniform coating capabilities, this scoop coater is the ultimate tool for achieving exceptional results in your prints. Trust AWT’s commitment to quality and elevate your screen printing game with the AWT Pro Angle 1 Scoop Coated for Coating Screens with Emulsion.
$23.99 – $32.99
Description
Features:
- All aluminum coater
- Easy & comfortable handling
- Controllable coating deposit
- Uniform coating of emulsions and blockout
- Designed with hard anodized gold aluminum trough
- Aluminum ends are permanent for easy cleaning and no leaking
- Special rubber edge protector included with Pro-Angle 2
Deeper Trough – more, requires less refilling, needs fewer passes
Technical Specifications
Using the AWT Pro Angle 1 Scoop Coater to apply emulsion to your screen evenly is a straightforward process. Here are step-by-step directions to help you achieve optimal results:
1. Prepare your screen: Make sure your screen is clean, dry, and free from any debris. Ensure that the mesh is tightly stretched and secured in the frame.
2. Prepare your emulsion: Mix your emulsion according to the manufacturer’s instructions. Ensure that it is well-mixed and free from any lumps or bubbles.
3. Set up your working area: Choose a well-lit and controlled environment for coating your screen to minimize the risk of contamination. You may want to use a light table or a clean, flat surface with a backlight for better visibility.
4. Position the AWT Pro Angle 1 Scoop Coater: Hold the coater with the angled side facing up and the handle in your dominant hand. Position yourself comfortably in front of the screen, ensuring a stable stance.
5. Load the coater: Carefully pour your prepared emulsion into the trough of your scoop coater, ensuring that the entire scoop is filled evenly. Avoid overloading the coater, as this may lead to excessive emulsion application.
6. Beginning the coating process: Starting from the bottom edge of your screen, place the coater flat against the mesh. Tilt the coater slightly towards the mesh to ensure optimal contact and even distribution.
7. Apply gentle pressure: With a smooth and controlled motion, drag the coater upwards along the screen, maintaining constant contact and applying even pressure. This motion allows the emulsion to be evenly spread across the mesh.
8. Coat in one pass: Aim to complete the coating process in a single pass. However, if necessary, you can use an additional pass to achieve a desired thickness or to rectify any missed areas.
9. Finish with a feathering technique: As you approach the top edge of the screen, tilt the coater even more to create a feathering effect. This technique helps to taper the emulsion coating, preventing excessive buildup at the edge.
10. Inspect and correct any imperfections: After coating, carefully inspect the screen for any areas of unevenness, thin spots, or drips. Use a clean and dry brush or a scoop coater blade to make any necessary touch-ups or adjustments.
11. Dry the coated screen: Place the coated screen in a clean, dust-free area, preferably with good air circulation. Allow the emulsion to dry completely according to the emulsion manufacturer’s instructions.
By following these directions and utilizing the AWT Pro Angle 1 Scoop Coater, you can achieve precisely coated screens, enabling you to produce high-quality prints in your screen printing process.
Technical Sheets / Safety Data Sheets / Documents
Video
Reviews
Only logged in customers who have purchased this product may leave a review.
You May Also Like
Related products
-

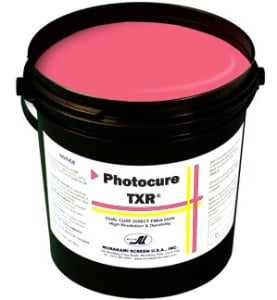
Murakami TXR Emulsion – Works With Waterbase, Discharge, Plastisol Inks
$65.00 – $2,500.00 -
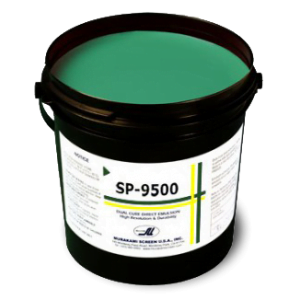
Murakami SP 9500 Dual Cure Emulsion – For Use With UV, Solvent, Plastisol and Solvent Inks
$59.99 – $2,500.00 -
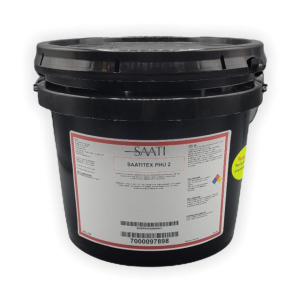
SAATI Textil PHU 2 Emulsion – Works With Solvent, Waterbase, Discharge, High Solid Acrylic, Plastisol Inks
$85.00 -
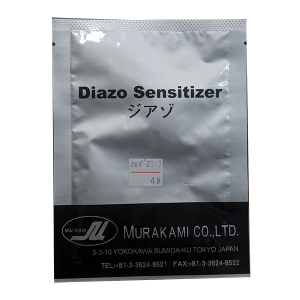
Murakami Diazo 4 Gram
$5.75
Reviews